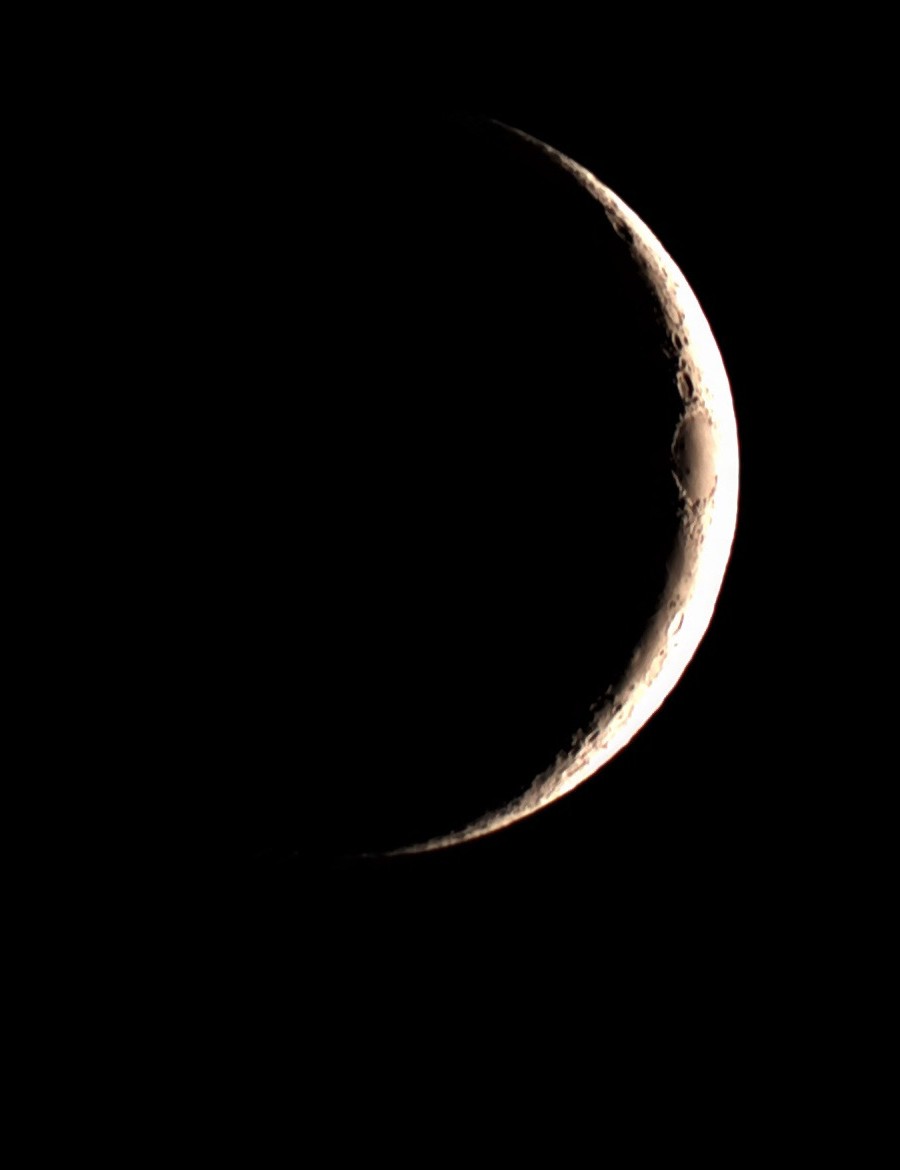
I keep reading about people who can't get their smart scope to go to the Moon.
It slews, it gives up, it points at nothing, and they decide the scope is broken. I get why that's frustrating, because the Moon is the biggest, brightest target there is. It should be the easy one.
Here's the thing, though: it's a simple process, and for me it has never failed. Boot up the Seestar, find a bright star, focus, take a minute or two of subs, stop, admire the photos, and then go to the Moon. That's the whole trick. Below is why I think it works, and how to get a really good shot once you're there.
The Routine That Never Fails Me 🌙
1. Boot it up and let it get its bearings. Power on, connect, and make sure your phone has the right time and location. Those two things matter more than people think.
2. Find a bright star. Pick any bright star you can see. It doesn't need to be anything special, it just needs to be bright and easy.
3. Focus on the star. Stars are the easiest thing in the sky to focus on, because a sharp star is a tiny pinpoint and a soft one is an obvious blob. Lots of times, I will look for a double star or a cluster just to get that overall focus. Get it crisp.
4. Shoot a minute or two of subs. Let the scope run on that star field for a minute or two.
5. Stop, and admire the photos. Seriously, take a second. You've got a sharp, focused star field, and that's proof the scope knows where it is and what it's looking at.
6. Now go to the Moon. Pick the Moon in the app and let it go. Generally, I like to take raw video and then stack the video for a good stacked photo of the Moon.
Why Does the Star-First Trick Work?
Honest note: this part is my reasoning plus what Seestar says in its own help guide, not something I can prove from the inside of the scope. Seestar's troubleshooting guide lists the usual reasons the Moon or Sun won't locate: a bad compass reading (metal tables, phone mounts, cars, power lines), a tripod that isn't level, bright artificial lights confusing the camera, and wrong time or location data on your phone. Its suggested workaround for stubborn cases is to align on a deep-sky object first to establish an accurate star field, then retry the Moon.
That lines up with what I do. Locking onto a real star field first gives the scope a good fix on where it's pointing, so when you ask it to slew to the Moon, it's working from a solid starting point instead of a shaky guess. And since a star shot needs the scope to be level, focused, and seeing a clear sky, it doubles as a quick health check before you try the harder target.
If It Still Won't Go: A Quick Checklist
| Symptom | Likely Cause | Quick Fix |
|---|---|---|
| Points in the wrong direction, sometimes the opposite way | Bad compass data from nearby metal or electronics | Recalibrate the compass in the app (Me, then Advanced Features, then Level & Compass Calibration) in an open spot away from metal |
| Alignment seems off | Tripod isn't level | Use the app's Adjust Level screen and get the value close to 0 |
| Moon is up but GoTo shows a black screen or fails | Streetlamps, billboards, or glare confusing the camera | Move away from direct lights, or align on a star field first |
| Target direction is way off | Wrong time or location on your phone | Turn on automatic time and location services, and give the app location permission |
Getting a Genuinely Good Moon Shot
Getting to the Moon is half the battle. Here's how to make the shot itself worth keeping.
Shoot when it's not full. A full Moon is bright and flat, with no shadows to give it depth. Crescent and quarter phases show craters and mountain ranges in sharp relief along the terminator, the line between light and dark. This month the Moon is around first quarter on October 18, and full right around October 25–26, so the days leading up to the 18th and just after are great for contrast.
Start from your star focus. Because you already nailed focus on a bright star, you're not starting the Moon from scratch.
Shoot video, then stack it. My habit is to capture raw video of the Moon and stack it into a single clean photo, rather than relying on one frame.
Mind the dew and the battery. Cold October nights drain batteries and fog lenses faster than you'd think. A small power bank on the cable keeps a long session from ending early, and it's cheap insurance.
"Find a star, focus, shoot a minute, admire it, then go to the Moon. Never fails."
Which Setup Fits You
Start with a star
Do the star-first routine before you ever tap Moon. It takes two minutes and fixes most of the headaches.
Bring a small power bank
A compact 10,000mAh bank is plenty for an extended Moon session.
Any current Seestar will do the job
The Moon is the easiest target there is, so you don't need to spend big to get great lunar shots.
Gear for This One
Same transparency as always: I shoot with a Seestar S50. Amazon doesn't carry the plain S50, so the scope pick below is the S30 Pro, the closest current listing. The power bank is a pick based on specs and reviews rather than my own long-term testing.
Your Turn
If your scope has been refusing to go to the Moon, try the star-first routine on your next clear night and let me know if it works for you. Then go enjoy one of the best views in the sky. 🌙