Smart telescopes are supposed to be an easy way into astrophotography, and compared to a traditional rig, they absolutely are. But easy isn't the same as foolproof. I've been running a Seestar S50 out of my Atlanta backyard and an S30 Pro and S50 out at Starfront's dark skies, and the first few weeks with each one, I still managed to trip over the same handful of dumb mistakes. If you just unboxed your first smart telescope, here's what I'd tell you to watch out for.
1. Rushing the First-Night Setup
The first time I set up the S50, I was so excited to see something on screen that I skipped half the app's calibration prompts — didn't level the tripod properly, didn't let it finish its full plate-solve, just mashed "go to target" the second it would let me. Instead of the photos you see online, I had unfocused photos with lots of noise.
Do this instead: First of all, get your equipment out in the sun and let your equipment adjust to the temperature. If you are using AZ setup, you can go ahead and level the telescope. Once the sun is down, let the app finish its full auto-focus and plate-solve sequence by picking a named star and then autofocus on it and get a minute or so of exposure to make sure the wind and lighting around you is good. If you can't get a named star to focus, you aren't going to get a deep sky object to.
2. Picking the Wrong Target on the Wrong Night
Nobody tells you this going in, but the moon is basically a giant flashlight for your smart scope's sensor. I pointed my S50 at a faint nebula during a near-full moon early on and got a washed-out gray blob for my trouble — the scope wasn't broken, I just picked a genuinely bad night for that target.
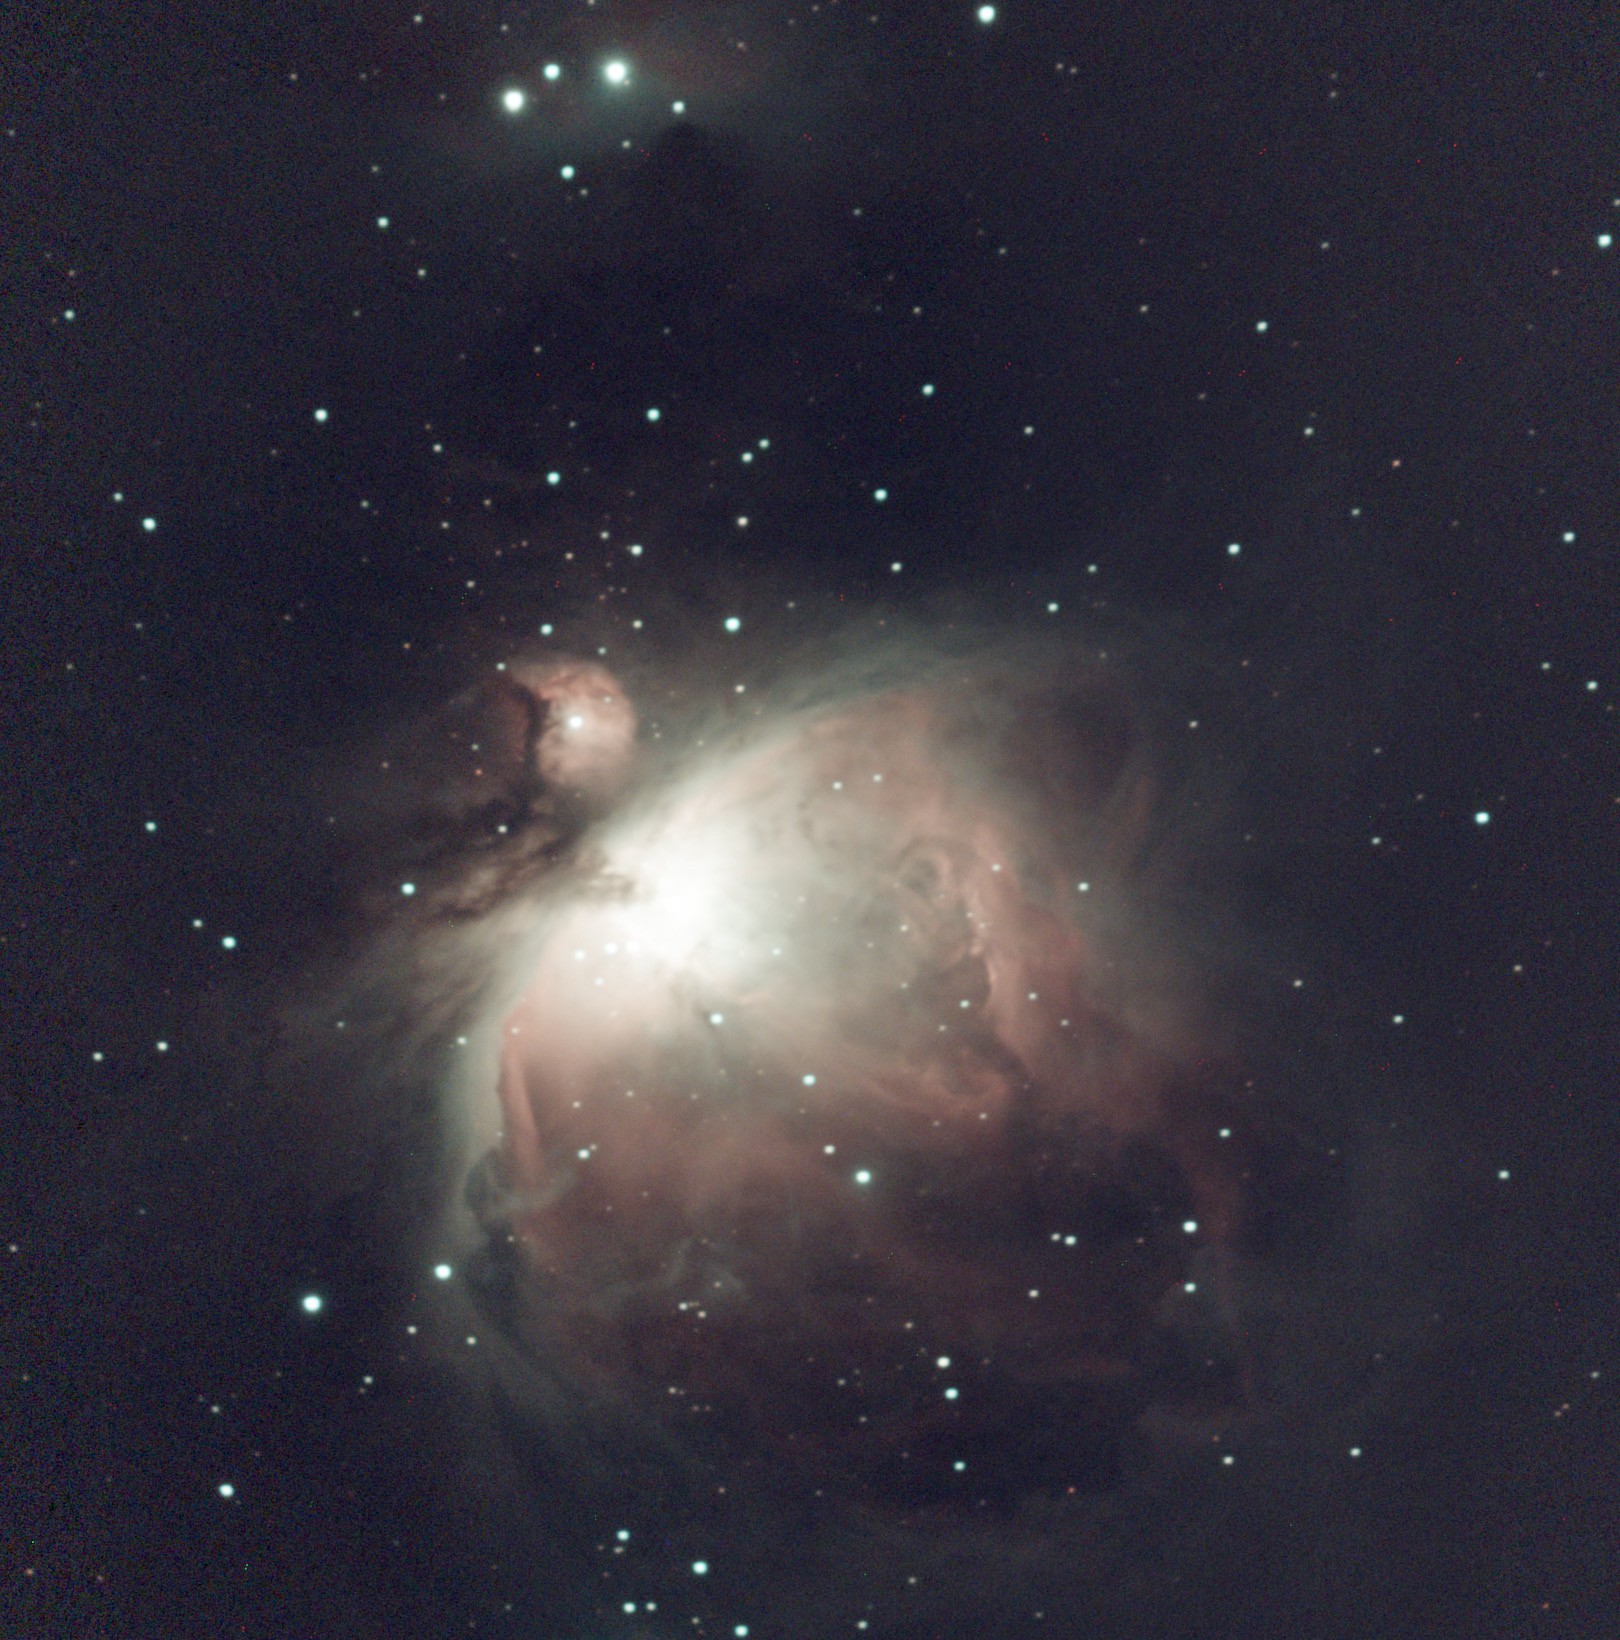
Do this instead: Check the moon phase before you pick a deep-sky target. Bright targets like the Orion Nebula or star clusters can push through moonlight fine; faint, diffuse targets like the Veil or California Nebula really want a dark, moonless sky. Most apps will actually suggest good targets for the current night — trust that list before you fight it. You can also pick times that the moon is down during the night and schedule your smart telescope accordingly.
3. Stopping the Stack Too Early
This one's just impatience again, honestly. Smart telescopes build detail by stacking dozens or hundreds of short exposures over time — the image you see at the 5-minute mark is not the image you'll have at 30 or 60 minutes. I used to check the live preview, decide it "wasn't working," and move on to a different target way too soon.
Do this instead: Give a target real integration time — 20 to 30 minutes minimum for anything faint, longer if you can. Watch the noise drop and the faint structure emerge in real time; that's the whole magic of live stacking, and it needs patience more than anything else.
4. Ignoring Your Own Light Pollution
I shoot from a Bortle 6–8 backyard in Atlanta, and for a while I was picking targets like I lived under Bortle 1 skies at Starfront. That's a losing fight — bright sky glow drowns out faint nebulosity no matter how long you stack.
Do this instead: Actually look up your Bortle class (there are free light pollution maps online), and if you're shooting from a bright suburban or urban spot, lean on your scope's built-in dual-band or light pollution filter if it has one, and favor brighter targets — galaxies, star clusters, planetary nebulae — over faint, sprawling emission nebulae until you can get to darker skies. You can get some good photos but you have to plan accordingly.
5. Not Planning for Battery Life
Smart scopes run their sensor, mount motors, and Wi-Fi off internal batteries, and that adds up fast — especially in the cold. I've had a session get cut short at Starfront on a chilly night because I didn't realize how much faster the battery drains once temperatures drop.
Do this instead: Know your scope's rated battery life and don't plan a session right up against it — cold weather can noticeably shorten it. If you're doing a long dark-sky session, bring a portable power bank compatible with your scope, or keep sessions shorter on freezing nights. I have used an Anker battery that I velcroed on to my S50 and that worked all night with no problems.
"None of these are hardware problems — they're all first-few-weeks problems. Everybody makes them once."
Level it, calibrate it
Let the app finish leveling, focus, and plate-solve before queuing a target.
Check the moon and your Bortle
Match target brightness to moon phase and your local sky darkness.
Be patient, watch the battery
Give faint targets 20-30+ minutes of stacking, and mind cold-weather battery drain.